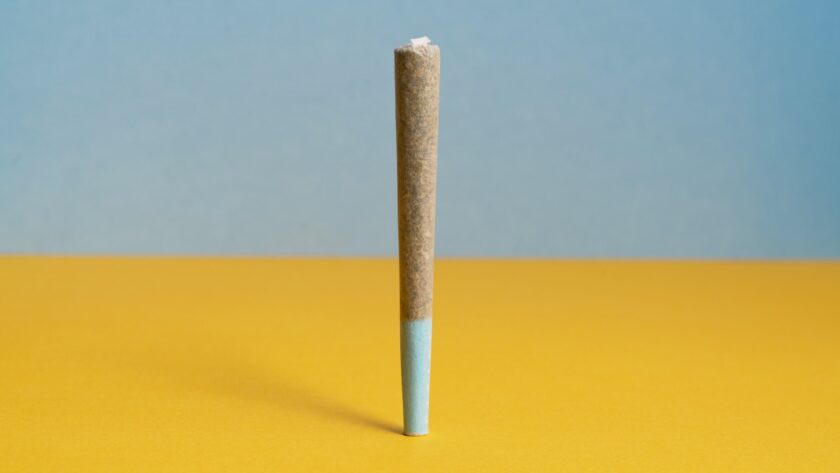
Cannabis consumption has recently gained much hype. One of the best ways of consuming it is by rolling out joints. What if you come to know that you can roll joints at home too? Yes, you read that right. Rolling out the cannabis joints in the old-school way is a cultural initiation for many. Though the steps and the final output depend on one’s preferences, a few simple steps will help you make the most of it.
For those unaware of what a joint is, it is a hand-rolled cigarette made with cannabis. However, rolling a joint is easy to learn and is also one of the simplest ways of consuming cannabis. It has gained much popularity among youngsters. This article will be great if you are looking for some easy and subtle ways of cannabis consumption. Please keep reading to know a few things you will require for preparing a joint and enjoy every puff of it.
Things Needed To Roll A Joint
Before getting started with the steps of cannabis joint rolling, you will have to arrange for a few things.
- A rolling tray
- A grinder
- Cannabis
- Pen, chopstick, or something similar to roll out the cover
- Crutch, filter paper, or other material make the rolled covering
Steps To Roll Out The Joint
After gathering everything mentioned in the list above, you can start the process of rolling a joint.
Grinding Cannabis
The cannabis flower should be ground evenly for the roll. It would help if you used a grinder for this process since it helps grind the leaves evenly, giving consistent texture and size. You can smash the flowers with your fingers as well. It will help if you are gentle while working with the cannabis leaves, so they don’t get damaged.
Make sure to save your shake and trim to use later. If you want to get the most out of your wet trim, make sure to freeze it as soon as possible.
Crutch Making
The next step after grinding the leaves is to make a crutch. Readymade crutches are also available in the market, and they are not that essential, but it makes holding it easy. Furthermore, it boosts airflow in common and minimizes the risk of burning your lips. Additionally, it refrains the tiny leaves from entering your mouth while smoking.
Loading
The leaves are to be loaded on the rolling paper. You must place the crutch at the mouthpiece end and sprinkle the marijuana on the paper. The content should be spread evenly throughout the joint, and make sure it is not stuffed.
Rolling
After loading, the joint needs to be rolled with the cannabis filled. The weed needs to be worked in a cylindrical shape, and it should neither be too loose nor too tight. It would help to use your index fingers and thumb to get it rolled out correctly. You will have to get the sticky adhesive either with water or by licking it, then seal it from the end of the mouthpiece. After closing, you will have to push the content down to the mouth end with the help of a pen or a chopstick.
Sealing The Ends
After sealing in all the extra content, you must close the extra paper to make the tip. This will be the end from where you can light up the joint and enjoy.
Conclusion
Learning the process of joint making is essential for all cannabis lovers. This way, they can make their joint whenever they want to. One thing that you should be sure about is the quality of the rolling paper. Though several gadgets are available in the market to smoke weed or cannabis, the joint is one of the cheapest, timeless, and best ways of ingesting it.


